
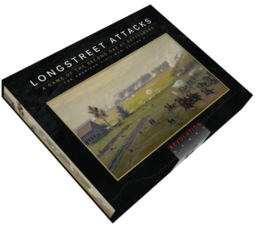


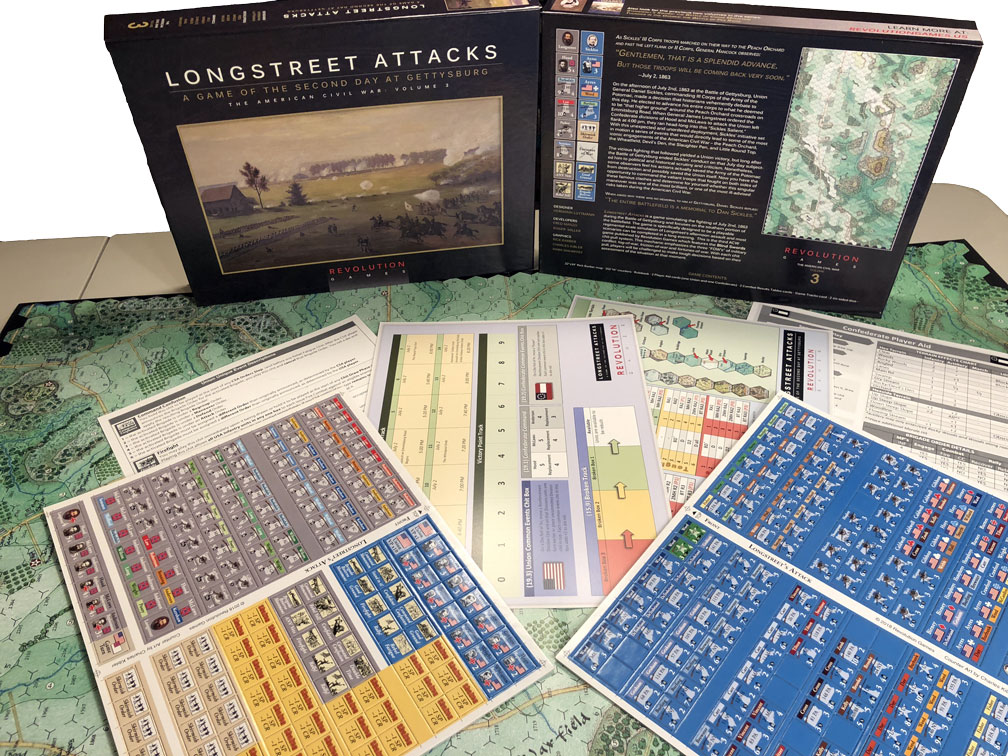
By Claude Whalen and Stephen Poitinger
A). Basic Combat for the ”Blind Swords” Series
1). Fire Combat
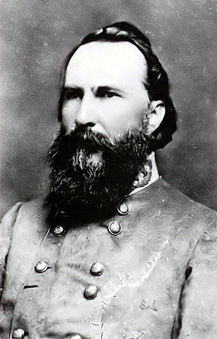
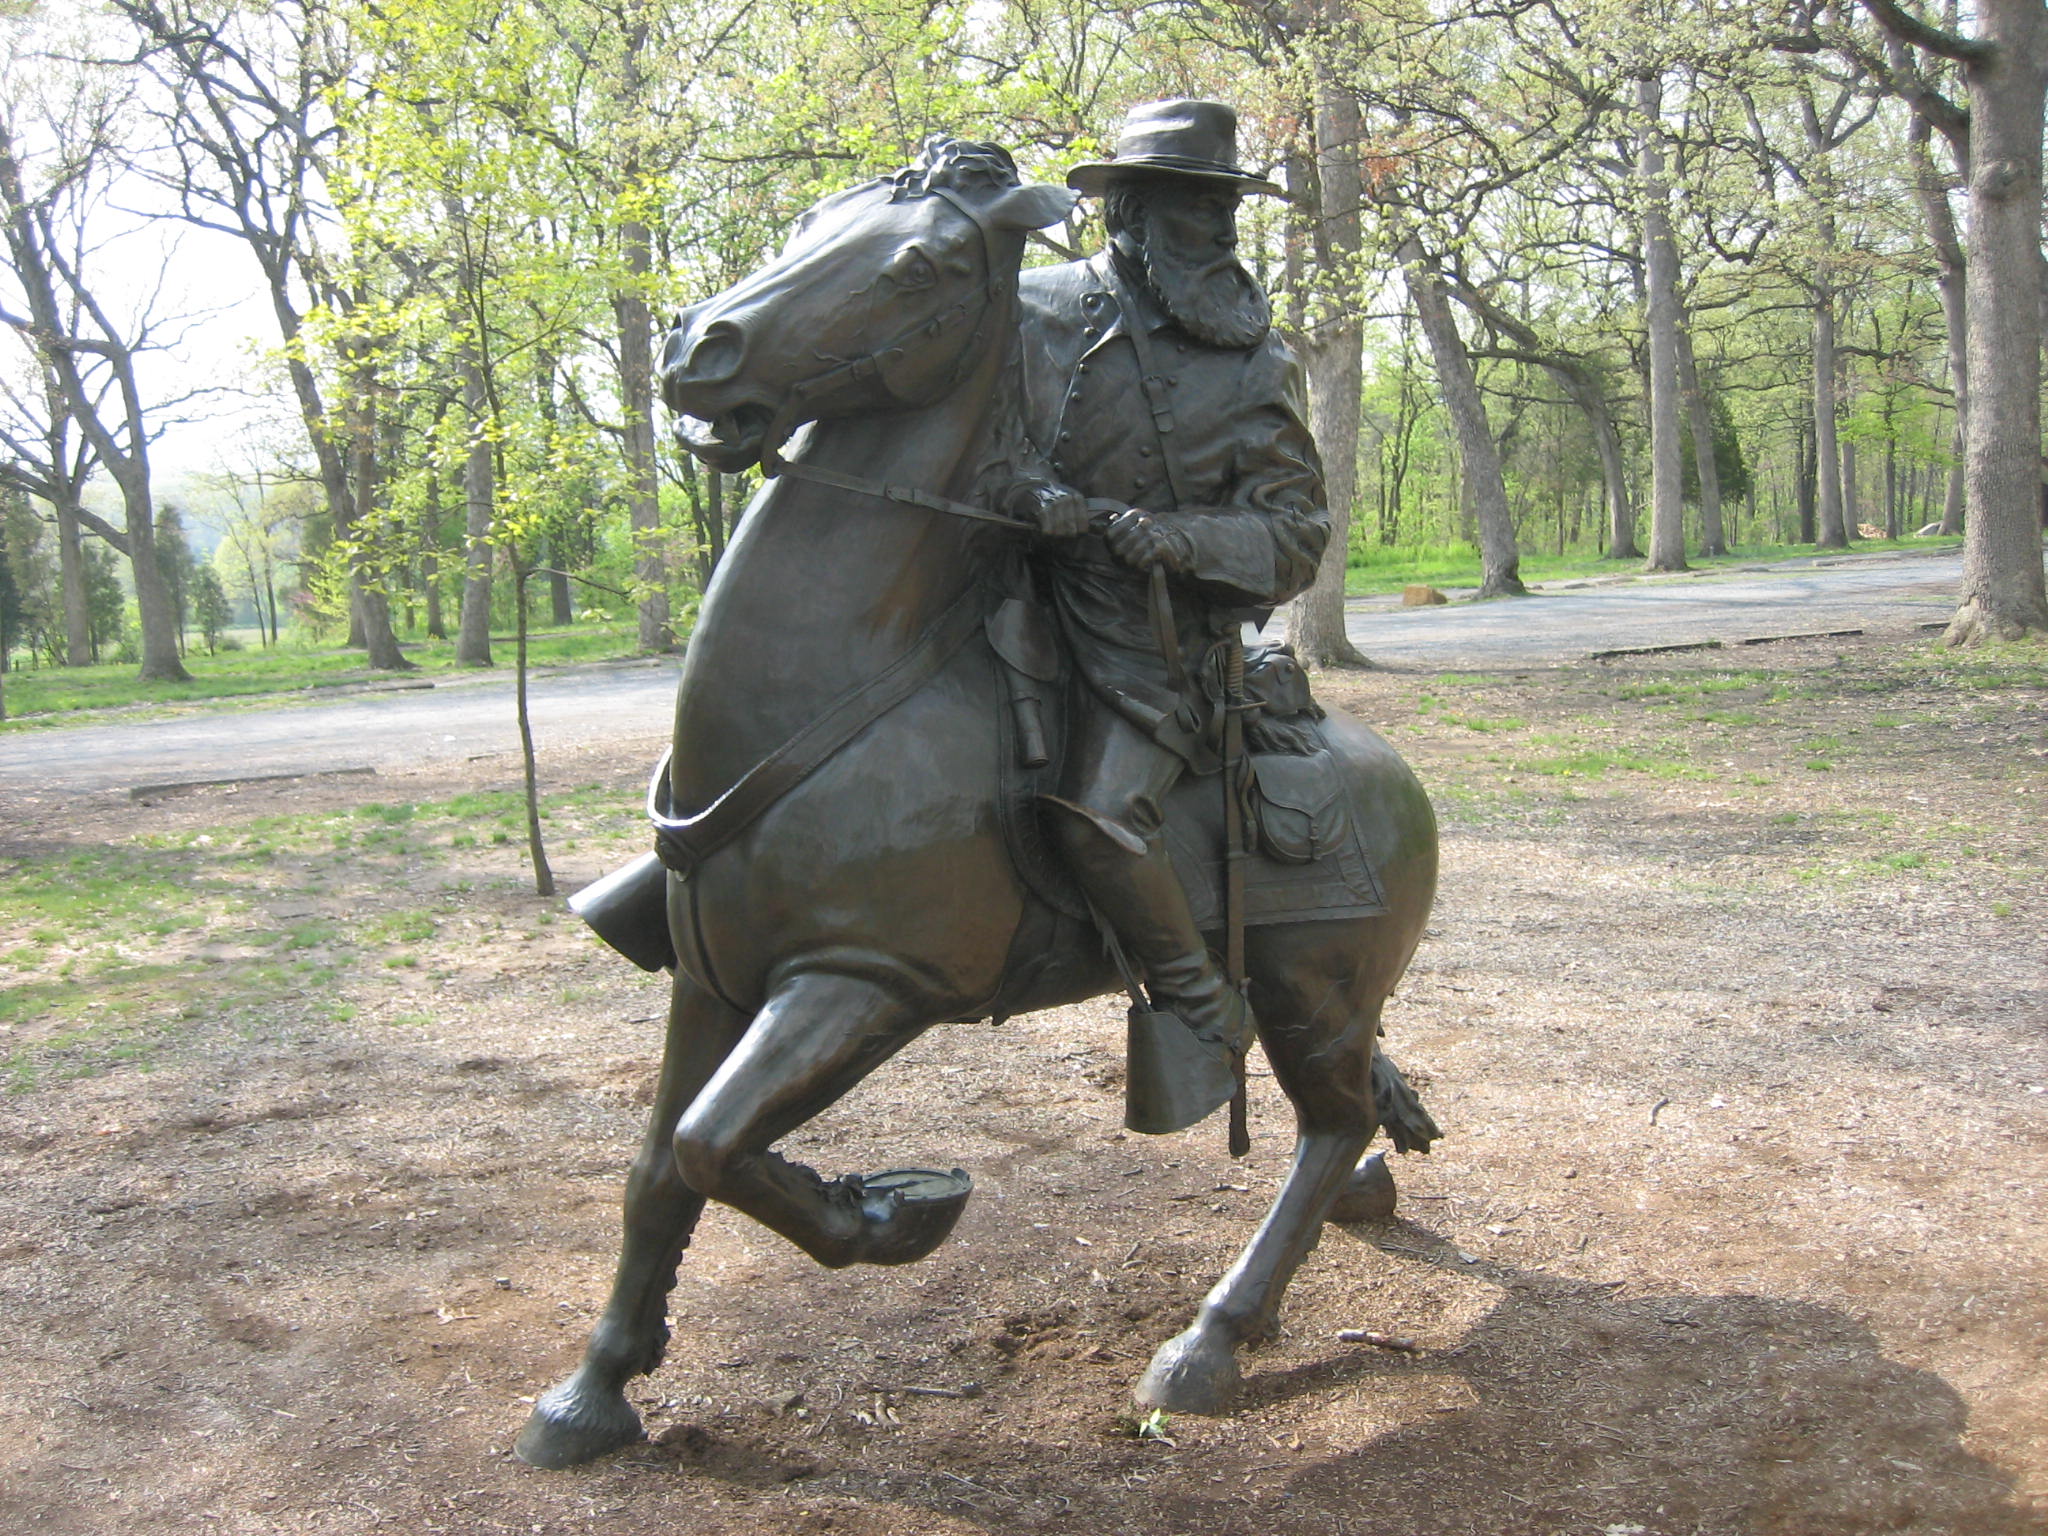
James Longstreet
Though Fire Combat can occur in two ways, it is rather easy to understand. When using the ”Firefight” chit, the attacking player fires first and the strength of his attack is limited by his distance from the target and the type of terrain that the target occupies. If they are still in the target hex, the Defensive player then returns fire using the same distance/terrain limits. For regular Fire Combat, see Steve’s example below:
OnIy the activated unit can fire; no return fire for the defending unit. See 12.0 to 12.3 (especially 12.3). The defender only gets to fire on close assault/combat. But what is unique to Bémd Swords is that fire combat occurs BEFORE movement for the activated brigade/units so it changes the potential sequencing for players.
Remember that two adjacent hexes from the same brigade can combine fire combat. This is an important tactic to use when either on the attack or to concentrate on particularly dangerous enemy regiments.
Yes, as the US player you can kill those 4 and S CR Reb regiments, especially if you pour on the artillery and then infantry fire combat As the US player, where and when do you go for the kill shots, especially with the artillery at your disposal. Do you try and meet the CSA regiments out on the Emmitsburg Rd, or Wheatfield or do you allow them to get closer to gun lines near the Trostle Farm or Cemetery Hill? Or perhaps where Freeman McGilvery established a gun line to save the US position?
What LOS and fields of fire do your batteries have? And don’t forget to support them with infantry regiments as there is a big difference between an unsupported battery with a 2 CR and a 3 CR battery that is supported by infantry. Well placed batteries can be devastating to a CSA advance.
2). Close Combat
In close combat, the attacking player fires first (using fire combat rules), moves adjacent to the enemy unit, receives defensive fire and then (if opposing units still remain in the original hexes) conducts close combat.
Two examples of this will help to illustrate the sequence of play:
The attacking player is two hexes away from his target so he conducts fire combat using the 2 hex column strength values and conducts fire combat. The attacker then moves adjacent to the opponent’s unit(s). The defensive player conducts defensive fire using the one hex column strength values on the fire combat table. If the attacker survives defensive fire, close combat is completed on its table.
In the second example, Barksdale is charging the Peach Orchard from four hexes. The attacking units are too far away to conduct fire combat so they just move adjacent to the target units. The defensive player conducts defensive fire using the 1 hex column strength values. Barksdale completes close combat with any units that have not retreated due to defensive fire.
Close assault is how you ultimately break units in this system Fire combat alone typically will not move large numbers of units or shatter a line. But be forewarned that the system is accurate; charging a gun time can result in carrying the guns or destroying your regiment{s).
3). Opportunity Fire
This type of fire applies to retreating units in most people’s minds and this is clearly explained in the rules. What is often forgotten about Opportunity Fire is that it also applies to units that voluntarily move away from, or past, enemy units. Without any ”Zones of Control” in the game, such movement can occur more often than you think. For example, units can move around an enemy unit, taking Opportunity Fire along the way, and then attack a weaker enemy unit further down the line. If an enemy unit is marching past but not attacking your unit, you can still issue Opportunity Fire.
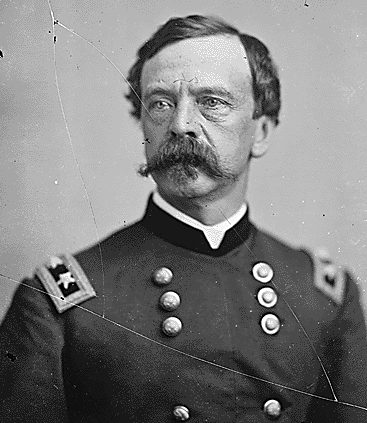
Dan Sickles
4). Linear Combat
This is an important concept as splitting up a brigade often spells trouble for those regiments. For example, splitting two regiments of Kershaw’s brigade can lead to a rapid degradation of those units morale. If one of those two regiments gets a ”shaken” marker from any fire combat, the other regiment is suddenly unsupported and has its morale drop by one level. It is now more vulnerable to combat losses. With a lower morale, the unit can quickly face a panicked retreat that can then also infect your ”shaken” unit also. Sickles troop placements hampered the Union but this does not mean that the rest of the Army of the Potomac, or the Army of Northern Virginia, should emulate Sickles mistakes. But the game will yield historic results even if players opt to forego the support rules by splitting off the 21 MS to assist Wofford {it is after all still a 4 CR) or sending the 40 NY or the 6 NJ to support the US far left flank.
Remember that a 2 CR regiment unsupported is now a 1 but if stacked with a 6 gun battery is NOT the lead unit so this only becomes an issue once the guns are dispatched. You have many options here as the player as to how to use your regiments and batteries.
B). Special Rules For Frozen/Uncommitted Units in the Larger “Longstreet Attacks” scenarios
1). Confederate Units
CSA divisions come into the game at different times based on the historical ”en echelon” plan. If Frozen CSA units are fired upon (attacked), their entire division is activated. You are not tied to the ”en echelon” attack plan though and the ”CIC Chit” or another chit can be used to get these troops moving early. This rule allows for some interesting strategic decisions. First, you can try to advance the entry of a division by using event chips on the entry track, as explained in the rules. Second, you can try this approach:
Say Longstreet’s CIC chit is used to activate Barksdale who then moves towards the Peach Orchard at 4 pm. If any Union units A1tack Barksdale though, they activate all of McLaws other brigades. So how long does the Union player allow Barksdale to advance before he counterattacks and unfreezes McLaws? And of course the more chits you use like CiC on this, the less that you can use for Hood’s men. One of the strongest tactics in this system is to follow the normal activation of a brigade with the CiC chit; in effect, the brigade gains a back to back turn against the enemy. Of course, this negates the ability of the player to react to a crisis elsewhere as the CiC chit will not be available.
2). Union Uncommitted Divisions
Non-activated Union divisions cannot counter-attack or move, they just have to sit there and fight defensively when they are attacked. For this reason, front-Iine Union troops have to be activated early by adding their commander’s chit into the cup. Though you may want to get reinforcements moving as fast as possible, you cannot let your front-lines be sitting ducks for long. An attack from Confederate troops will NOT ACTIVATE these men, the Union player must be pro-active in order to get them to fight properly.
One of the biggest decisions for the US player is the sequencing of the Uncommitted Divisions into the cup. Do you put Barnes in first in the hopes of bringing up reinforcements quickly at the risk that Hood doesn’t attack Ward or deTrobriand? Or does Birney need to go in first in order to give his brigades a fighting chance? When do you activate the other Third Corps division (Humphries)? Give this some thought before the game starts so you have an idea 0f how/when the divisions come 0n line. This is the Sickles penalty, if you will, for a botched command structure and the loose cannon nature of Sickie’s movement into the salient.
C). Common Issues In Testing
1). The Union player cannot sit on Cemetery Ridge and try to kill all the Confederates as they charge up those slopes. The Union player has weaker morale but they must counter-attack in order to win the scenario on points. In many tests, the Union player can hold Cemetery Ridge but still lose the scenario on points due to crippling manpower losses. Think of it as Meade‘s conference on the evening of July 2nd voting for a withdrawal because of huge manpower losses on the 1“ and 2nd.
Also not trying to retake lost victory hex points while sitting on Cemetery Ridge just allows the CSA player to build up free points that will then give him an even bigger victory at the end of the scenario. Don’t be hesitant as the Union player to counterattack higher CR CSA regiments, especially if you can hit a regiment with muitip§e US regiments or even a brigade. And this counterattack may be nothing more than moving adjacent t0 enemy units that have already activated in the hopes of chit play like “Firefight!” or getting the first activation, even a Limited one, on the following turn.
2). The Union player has three goals: get his brigades moving in time to plug holes in his line, get his artillery into proper position (Line of Sight/Field of Fire issues are key) and counterattacking to get key hexes back.
Consider withholding the “Brigade Reserve Movement: chit as your key chit on many turns to help with this once it becomes available. Also, consider playing BRM on a brigade before it is activated; move it to within one hex of the enemy, especially an already activated enemy brigade, then activate your brigade and pound holy hell into them!
The Confederate player must attack, use their higher morale values in close combat, rebuild his forces and take Cemetery Ridge (or at least punch a hole in the Union line on that Ridge). Easy to say but hard to do, there are just so many ”men in blue”.
Consider using “Double Time” as your key chit on turns when key brigades (Kershaw, Barksdale, Wilcox, Wright, etc,) in order to minimize exposure to US artillery and maximize their hitting power. Also, consider pairing this with the CiC chit in order to give these brigades multiple attacks in order to try and break the Union position
3). Full Battle Scenario Victory Hex Points
In the full battle scenario, victory hex points are counted EACH turn, the Union player builds up a big lead in these points early in the game but that lead evaporates with a good CSA attack strategy. The Union player cannot count on a big Victory Hex Point lead to offset his casualty losses.
An interesting CSA strategy is to send a brigade or two of Hood’s division around BRT to get at the US LOC 0n the east map edge. These are big VP locations (4 each) and an aggressive CSA player with chit play can often nab two of them (8 VP) to help offset this early game disparity. Of course, you are splitting up Hood’s excellent division and risking getting defeated in detail by an aggressive US player.
4). Key Chit Selections
The Union player has three key chit choices that should be strongly considered throughout the game: Command Confusion, Rebel Fatigue and Brigade Reserve Movement. Depending on the scenario that you are playing, some of these chits may not be available. Still, the idea is that you want to slow down the CSA attack plans and get your men moving as fast as possible.
The CSA player has two key chits per turn and his combined chit choices will vary during the game. Early on, the Double Time and Brigade Reserve Movement chits are important.
Later, the Rebel Yell and Confident chits will help punch holes in Union lines.
Finally, as the casualties start to mount, the Rally ’Round the Flag and ANV Veterans chits will become very valuable.
5). Fog of War
lt is easy to see the value of killing a General but the ”Wayward Movement” effect can be just as important to a turn. Either by forcing a unit out of an important hex (I had this happen to units on Little Round Top numerous times) or by sending a unit on a suicidal attack, this is a very damaging effect of the Fog chit.
Love this chit! It provides the “why did that regiment or battery do that” moment that you read about in ACW battles.
6). Rebel Yell
The “Rebel Yell” chit is a strong advantage for the Rebels but it does NOT make the attacking unit immune to defensive fire. Using a Rebel Yell chit to charge an artillery battery (or a strong Union regiment in a strong defensive position) can fail so use this chit with caution. A Rebel Yell doesn’t mean that the attack is immune to suicidal results. 1n testing many a Reb regiment was mowed down by US fire as they attempted to dear a position of US troops and guns.
7). Morale Losses
 Morale issues are important to track. A highly rated unit can lose its morale value very quickly. For example, a ”4” rated unit is attacked and takes a ”Shaken” marker and suddenly is left unsupported (or retreats into the woods). That ”4” morale unit has suddenly become a much weaker ”2″ morale unit. Alone in the woods isn’t good!
The rule of thumb that I usually use is that once I commit a brigade to combat, it usually can last about 60 minutes before I need to attempt t0 rally it. Obviously, this is an approximation as I have had brigades evaporate in 20—40 minutes and last as long as 2 hours but I know that they will degrade once committed.
8). Woods/Morale Trade-Off
There are pluses and minuses of being in the woods. A unit in a wooded hex gets a defensive advantage as offensive fire is shifted two columns to the left on the Combat Chart. On the other hand, the same unit is now unsupported and therefore has its morale rating reduced by one level.
For example, 12 strength points of Union artillery in hex #2308 fires on the 21st MS, which is supported in hex #2311. The Fire Combat results would be on the ”12-13″ column and the unit’s morale would be ”5”. If the 21st MS was in the woods (hex #2312), it would be unsupported. Due to the woods modifier, the Fire Combat results would now be on the ”8-9” column but the letMS morale would now be ”4”. The 21st MS has given up some morale value for the added protection of the woods.
9). Artillery Engagement Rule
The two hex engagement rule for artillery is VERY important. Artillery cannot advance within two hexes of an enemy unit. Realistically it is going to apply when enemy units advance to within two hexes of the battery. Your guns can stay there and fire but the proper (and usually historical) move is to retreat. Staying put and using defensive fire may force the enemy units back but if you fail, you have a very good chance of losing those guns. Once broken, guns are lost for good. It is better to withdraw your artillery and rebuild them in the rear.
As the Union player, it is not always possible to pull out front-line infantry regiments from impending doom but it is possib§e to rotate out 0r develop fresh batteries as the game evolves. Consider withdrawing depleted or morale marked batteries into rear positions like Cemetery Ridge where they can rally and regroup with a rear stationed US brigade. Leaving these units on the front lines is a recipe to lose them; by keeping a fresh battery or two nearby that can be developed into a front-line position (think Graham’s brigade) will even prevent the CSA guns from firing just in case you bring up those guns late in the artillery step. it is usually a losing proposition in this system t0 charge an infantry line, even a weak CR one like Graham, that is studded with batteries of Napoleons. As the CSA player, once you drive those US guns off, keep them away by keeping batteries in reserve to target these late-developing batteries. As the US player, it is often better to cut and run, risking opportunity fire, then leave guns in exposed positions to be overrun by Reb infantry.
10). Stay Adjacent to Enemy Units when advancing towards enemy guns
Artillery fire can be devastating to units caught out in the open within the 6/7 hex full strength range of those guns. Try to keep attacking units next to enemy units while attacking towards a battery/gun line as those guns cannot fire at you. Flanking enemy guns can fire on you but NOT the guns behind friendly units that you are adjacent to.
To use the military term of the day, try and ”hug” the enemy as much as possible in order to limit artillery exposure. Of course, the problem with this tactic is that you expose yourself to the possibility of devastating fire combat from the enemy’s regiments. That is the trade-off.
11). Artillery Facing Rules
This subject took up a good bit of testing time. Instead of adding a few pages of rules dealing with facing issues and adding another layer of complexity to the game, the variability of the ”Combat” and ”Cohesion” rolls take care of the facing issue for you.
If you charge a battery and their defensive fire gets a low roll, you took them in the flank, their fire had no effect and you will probably take those guns. If they get a high defensive fire roll, you charged head on and are now listed as ”missing”.
As you don’t know how the rolls will go, one way to minimize the ”head on” risk is to have two units attack from adjacent hexes. One unit takes the brunt of the defensive fire but the other unit gets through to the guns. Yes, your attacking unit that gets through will not be as strong but your column adjustment bonus will help you immensely. (The 21st MS did fantastic work against Union batteries so we really spent a good bit of time trying various approaches to this issue.)
12). Movement Issues That Are Often Overlooked
Movement is very simple and most of the time, you can look at the terrain chart and find your answer to a movement question quickly. One thing that came up, again and again, is that you need an ”Attack Order” whenever you come into contact with a Skirmish Unit. Obviously, you are going to get this unit to retreat automatically but you CANNOT USE A MOVEMENT ORDER TO DO THAT! You have to use an ”Attack Order” and now you have 4 movement points, not the 6 movement points of a Maneuver Order. When you are trying to get Law racing towards Little Round Top, you need to keep this rule in mind.
Keep in mind that movement for infantry regiments will typically be one or two MP per hex. This is not counting any hex sides crossed that will also add to the total. Movement in rough terrain like Big Round Top will often be one hex per turn. And always keep in mind that the only orders that allow you to engage the enemy are “attack” and “defend”; artillery can never engage the enemy unless the enemy moves next to it.
13). Using Close Combat to Gain Victory Points

Joshua Lawrence Chamberlain of the 20th Maine.
Close Combat, not Fire Combat, racks up points and moves your opponent back the fastest. This is achieved by either breaking the unit or by the more likely chance of getting a panic result from a close attack. Since the CSA goal is to break through the Union lines, the CSA player really needs to
charge/attack “if practicable.” Don’t be Ewell, be Barksdale (and have that Rally ’Round the Flag chit in the cup).
14). Low Combat Column Attacks
A low combat column attack (soak off, suicidal, whatever you want to call them) is not an automatic failure in this game. The ”Cohesion” roll is key to these types of attacks and even if your attacking unit is depleted, a retreat result for the enemy unit can be worth the sacrifice (see the historical example of the lst MN). But using too many of these with one brigade is a quick way to decimate your attacking units, especially if your opponent is aggressive with the use of counter attacks.
15). Panic #1
The Panic Rule can be a killer so don’t pack units right behind your front-line troops if you can help it. A bad ”Cohesion” roll can suddenly open a two or three hex hole in your line as panicking units run off after seeing an adjacent unit break. In one playtest, Barksdale attacked the Peach Orchard at 5:20 pm and with a combination of McLaws activating him and a Rebel Yell chit, Barksdale cleared the entire Peach Orchard. The combination of high-value combat column attacks and panic results from the “Cohesion” rolls forced all Union forces out of seven (7) hexes. Always try to have a gap between lines and don’t build a ”Blue Wall” of men, which would then leave you ripe for a rout like the one Barksdale accomplished. This is an elegant rule that accurately shows the collapse of what appears t0 be strong Union positions. Players will also see the importance of US guns in these positions and be faced with the dilemma of how long to keep them with those 2 CR regiments and risk both the destruction of the guns and the infantry.
16). Panic #2
This little hint applies mainly to the smaller scenarios, which only use a portion of the map. Watch where you place your men as a panic result requires a three hex retreat. If you are close to a scenario boundary, you will have to pay the penalty for being forced off of the map.
17). Break Track Rebuilding
Union units (especially) on the Break Track are hard to rebuild and get back into the game. If at all possible, try to rotate battle worn units out of the front line and rally them while they are still on the map. Even if you cannot rally them, they will remain on the map and not cost you points at the end of the Full battle scenario.
Much easier to get higher CR regiments off the track than lower ones (as it should be}. Try and preserve your regiments which is much easier said than done…. sometimes those depleted regiments must stay and fight, losses be damned. That said, the US player needs to keep an eye to this in the “Hammerin’ Sickles” scenario. Remember, you have a 1 in 3 chance to recover a 2 CR regiment And a brigade like Ward or DeTrobriand has many of those to recover. Another way to think of it is if you can recover a 6 SP regiment, you just earned 3 VPs!
18). Regrouping
Regrouping can be tricky and players should be aware of the limits to rallying and rebuilding. When trying to rebuild a unit, remember that the unit’s morale value can be lowered due to non-support.
Note that using the ”Rally ’Round The Flag” chit allows you to rally/rebuild one (1) unit that is only two (2) hexes away from any enemy unit. When using a ”Regroup” ORDER, you can rally/rebuild all units three (3) or more hexes away from any enemy unit. The Rally chit is more powerful but it is a unit specific tool. Sometimes it is much better to withdraw a battered brigade using maneuver orders, risk opportunity fire, but get we“ to the rear in order to 1) open the way for fresh brigades and 2) be ab§e to regroup for multiple turns.
19). Chit Usage
CIC chit use is not as simple as it seems. Your first inclination is to use it as soon as it is drawn. Often times you can save the CIC chit and combine it with a successful brigade activation for a potent ”1-2 punch”. On the other hand, the CIC chit can be used if you really have to move a brigade and you just failed its activation roll.
Chit pulls are not all ”luck of the draw.” Proper use of your chits at the right time can really be the key part to a successful turn. It is also wise to consider which chits sequence together. For example, a player that possesses “Firefight” and “Confident” in his hand may also know that “Rebel Yell” is still in the cup as that was one of his key chits. With “Fortunes of War” already played, the player knows that it will be possible later in the tum during activation(s) to sequence the three chits in a possible order such as “Firefight,” then “Rebel Yell,” and follow that with “Confident” to break multiple positions at once.
Also, consider sequencing command chits in order to perform a double activation with a brigade before your opponent can activate. For example, Robertson activates with Attack orders and performs its fire and movement. Play the “Longstreet” chit immediately before the next activation in the hopes of activating Robertson again. Conversely, as the opponent, I try and hold that “Command Confusion” chit to play it along with the CiC chit if possible in order to prevent this very thing. But the order of the chit draw sometimes makes this an impossibility.
Especially in the ”Hammerin Sickles” and ”Dan Stays Put (sort of)” scenarios, the CSA player will be forced to make hard decisions with his chits. Do you use the chit for its ”Unique Event” or use it as a ”Common Event” and boost a Division Commanders ”Command Rating”? There are no ”hard and fast” rules for this, the decision is yours alone.
22). Testing
James Longstreet
Constantly playtesting for over ten months, we have tried all types of attack and defense schemes. Though the game can be played using the historical ”en echelon” plan, you are NOT tied to this plan, which gives you enormous replay potential. We spent plenty of time testing various key units with different morale values in order to give them the chance to perform historically. Even if your favorite unit doesn’t quite have the values that you think it should have, it has the values that allowed it to perform like it did historically. Your game may not quite work out that way, due to variations in rolling, but in replay-after-replay, we feel that these values produce the proper results.
In the end, we built a game that can get historical results but one that doesn’t tie your hands with scripted play or a complex set of rules.
Be warned: this game is addictive!
23). Final Thoughts
As Steve is a retired teacher from Ohio and I am donating a number of these games to schools and the library in my area, we hope that ”Longstreet Attacks” helps make history come alive for younger players. We have all heard that ”history is boring” but finding a way to get the best education that you can get is the smartest decision that you can make and the best way to ”Feather Your Nest” for the future. We hope that ”Longstreet Attacks” inspires some of you younger players to become teachers, writers, game designers or even go for the triple play of all three.
Finally, Steve and I would like to thank Roger Miler of Revolution Games for NOT rushing this game into production. Without Roger’s patience, we never would have been able to hone this game into the gem that we think it is!
Enjoy it and replay it often, we sure have!
Game Resources:
 “Longstreet Attacks” BGG Page
“Longstreet Attacks” Home Page
“Longstreet Attacks” newest FAQ/Errata


Excellent post! Somehow we missed that CiC chits could activate a unit that had already been activated, I will have to go back and revisit that. Luckily am only 1 turn deep in the Emmitsburg Road scenario so will get a chance to try it out. Lots of good info here.
Claude and Stephen playtested this game into the ground. If I had to guess I’d say they worked on it for almost a year each. I’m simply astonished there is any errata at all. I’d have to put that down to “Even Homer nods.”