
By Paul Comben
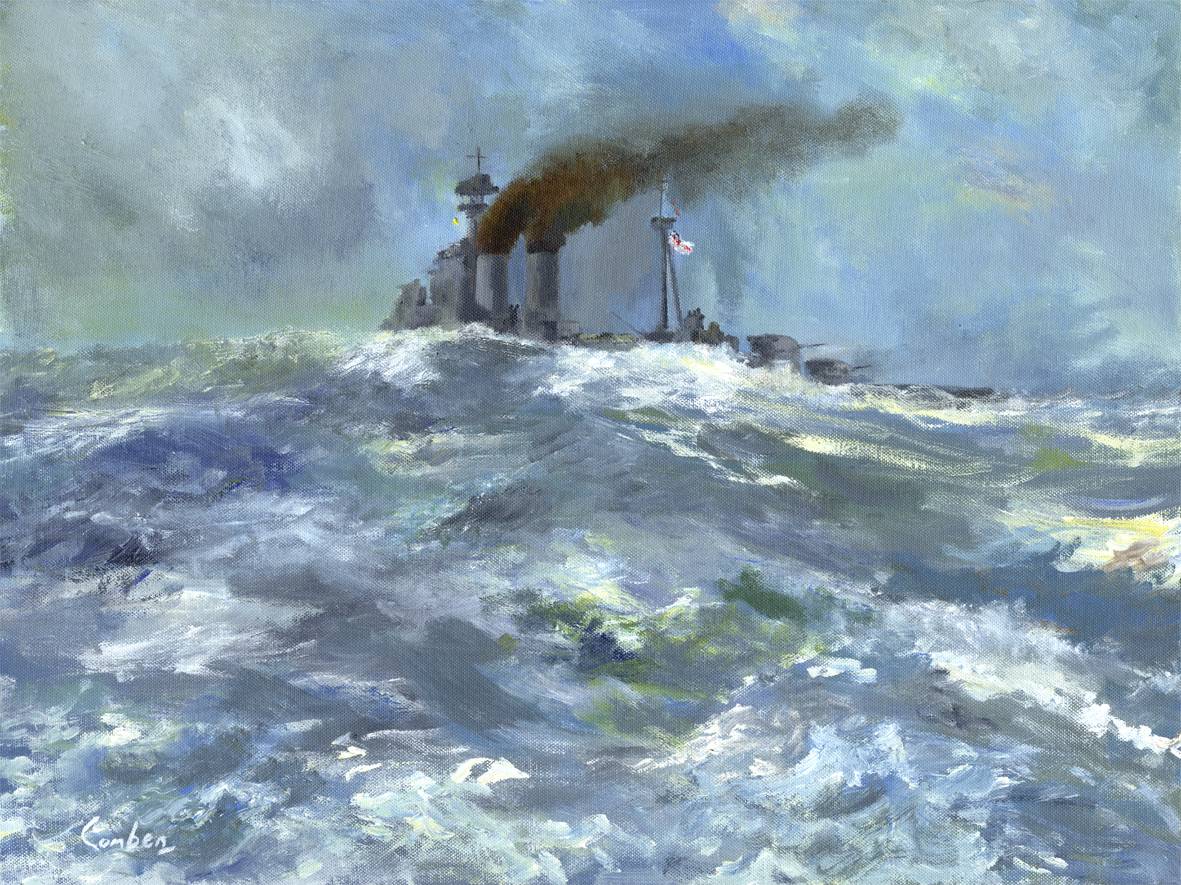
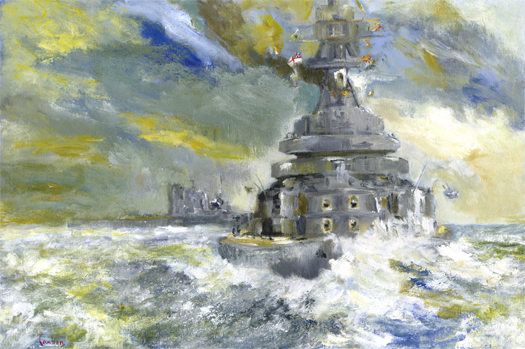
HMS Hood by the author, Paul Comben
In the first part of this analysis, I looked at the events leading up to those fateful minutes in the Denmark Strait, and then at the course of the battle itself. In this second installment, I will look in detail at what happened to Hood in those brief moments of engagement with the Bismarck, and what can be deduced from that. This will be followed by a replay of the battle done with several different naval wargame systems.
This much is known for certain: after a short exchange of salvos with Bismarck, and after also receiving fire from Prinz Eugen, the Hood, ablaze around her mainmast and with her control top smashed by a shell from Bismarck, emitted a massive pillar of flame from the same mainmast area, and shortly after, was torn in two by the first of a succession of internal explosions. Sinking quickly, only three men survived her destruction; and when she settled on the sea bed, it was as a widely spread chaos of fragments, with precious little readily identifiable to the cameras that first located her.
Much else has been the subject of conjecture and speculation; and not a little of that, seriously open to question.
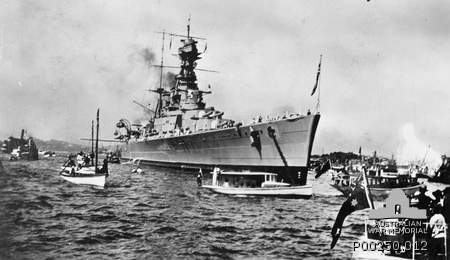
HMS Hood in Sydney Harbour (1924) – Wiki
1) Where Hood Was, and Where She Should Have Been.
It has often been said that Admiral Holland wanted to be across Bismarck’s bows come the moment of first sighting, blocking her advance into the Atlantic and bringing his eighteen big guns to bear against only the forward armament of Bismarck. For all we know this might well have been his intention, but if so, it was not a plan without problems.
Had Holland been across Bismarck’s line of advance as the ships sighted each other, it would have been at seriously long range, and Bismarck would have had ample time to alter her course before the fire got seriously hot.
Additionally, Holland, who in book after book, as well as in documentaries, is stated to have wished to avoid plunging shot hitting his vulnerable decks by closing the range, would have been in a situation where, at least to begin with, he would have had to choose between keeping that ‘T’ crossed and closing with the German battleship. He could hardly have it both ways. As for Bismarck, even allowing for Lutjens’ “scare time,” she would surely have altered course swiftly, and not obligingly continued to keep on a course that would have gravely disadvantaged her.
Bismarck, in these circumstances, had three options:
She could turn broadly to the north – unlikely as she would have faced the nearing pack ice and the coast of Greenland.
She could go south – much more likely, as there was open sea ahead, and her full broadside would soon have become available.
She could turn about – heading back to Norway was, however, improbable, given the farce the operation would have descended into, and the difficulty of ever getting the ship out again.
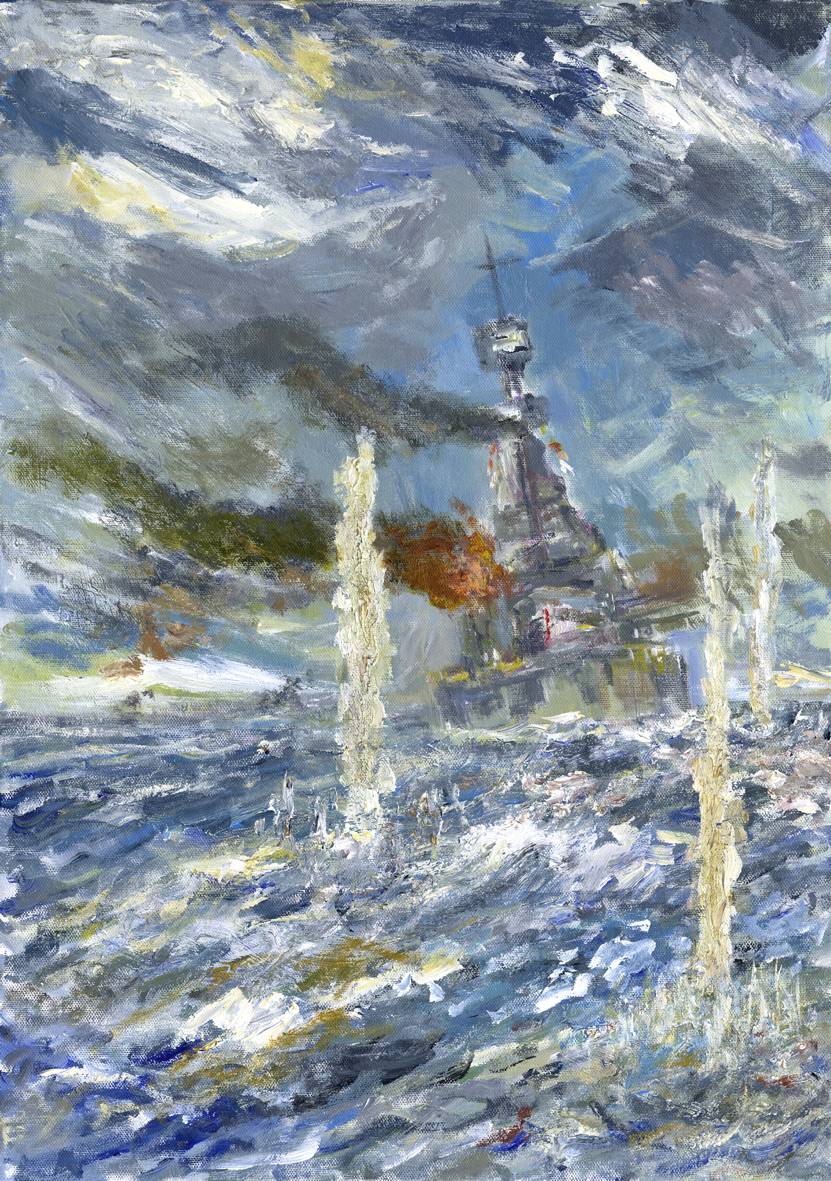
HMS Hood – Naval art of the author, Paul Comben
As for Holland, crossing the ‘T’ was no good if he needed a closer range to score hits, make his firepower advantage pay, and avoid high trajectory shells plunging into Hood’s innards. Whichever of the three options Bismarck chose, he would still have had to close up, but ideally on a course that would have kept his broadsides open.
In short, Holland’s best approach was to have met Bismarck on a tight enough approach to close the range quickly, but keeping his broadsides in full play. Of course, what actually happened was that Holland double-guessed himself in the night, assuming that the loss of contact by Norfolk and Suffolk meant that Bismarck had altered course. Lutjens, as we know, had done no such thing; but by the time Holland had contact again, he was off bearing and was chasing after Bismarck at a far less advantageous approach angle.
What this meant in real terms was that not only could neither X and Y turrets on Hood, and the as yet still functioning aft turret on Prince of Wales, get a shot, in Hood’s case especially, her forward rangefinders were facing directly into the spray erupting over the ship’s bows. This slowed target identification and must have hindered range finding on the older ship to the point where she would score no hits at all.
HMS Hood
Then, as is known, after receiving damage from both German ships, Holland gave the order to turn hard to port. The order was followed, the British ships began to uncover their full broadsides, and then…
2) Follow the Leader.
To borrow a phrase from the Duke of Wellington, Hood and Prince of Wales came on “in the same old style.”
The two British ships were about eight hundred yards apart, and from what we can tell, Holland had given precious little latitude to Captain Leach on board Prince of Wales to do anything other than follow where Hood went.
All told, this appears bad tactical thinking:
A) It helped close both full broadsides early on.
B) Because of the target aspect thus presented, it gave the Germans more ship to hit.
C) It gave the Germans an easy switch of target after Hood’s loss.
D) It cut down on the number of things bothering the men on the bridge of the Bismarck, as there was only one set of enemy “behaviour” to worry about.
E) Most importantly, it made Hood the likeliest target for the full firepower of Bismarck. Prince of Wales had armour that was actually superior to Bismarck’s, and thus had a far better chance of withstanding early hits. But Holland had his flag on Hood, and the only excuse other than doctrine which can be offered, is that he did not want a ship suffering so many teething problems going off on its own – but as the battle showed, Prince of Wales had plenty of bite left.
3) The Fire.
It rather sums up the luckless doom of the Hood that she might have been destroyed by an 8” shell from a heavy cruiser – a shell which led to a massive fire as the UP anti aircraft shells exploded and shot about all over the place.
Just why quantities of such ammunition were kept in such an exposed condition is anyone’s guess. Essentially, it was an accident waiting to happen, and when it did happen, it caused mayhem. According to Ted Briggs, up on the admiral’s bridge, the fire was soon out of control and causing a hell of a mess. The damage control teams could not get near it, and were, in fact, ordered to keep clear until the ammunition was all expended.
The question is: did this fire do more than cosmetic damage? Certainly, it was a very serious blaze, and in Jack Greene’s Royal Navy from 1984 (reference the replays), one sees fire as potentially eating away at a ship, and then, suddenly, causing major issues as turrets are lost and things fall way past control.
But then, it is hardly unusual for battleships to catch fire – Beatty at Jutland had his ships open the range at least once to give his ships a better chance of dealing with ongoing fires. The problem with the Hood was that this fire was immense, and must have been affecting internal compartments of the ship nearest the blaze. ‘X’ turret failed to fire in Hood’s final salvo, and looking at that turret’s position in relation to the fire, it is hard to dismiss the suspicion that the confines of the turret may have become uninhabitable.
Though even more telling is the possibility that Hood’s stored torpedo warheads were precisely in line with where the fire was reaching – in short, more ghastly oversights. Some analysis suggests that the pillar of flame, in location and nature, gives every indication of having been caused by exploding torpedo warheads – and Hood had enough on board to make a very serious bang. Admiral Chatfield, in his letter to the Times of 26th May, intimated that Hood’s loss had a great deal to do with the mainmast fire – more things can explode in a warship than just the main magazines, and he was someone who knew what he was talking about.
Of course the subsequent Admiralty inquiry dismissed any explanation of how Hood had died save that it was by a heavy shell striking the after magazines. This may well have been the death blow, but one cannot rule out the possibility that Hood was already finished by the shell from Prinz Eugen. The Admiralty inquiries after Jutland may be said to feed the suspicion that what you get in such cases is a combination of partial admissions and a whole heap of cover-up. It took a long time for anyone outside the corridors of power to understand that Indefatigable, Queen Mary and Invincible had been destroyed not only by German shells, but by hideously bad ammunition handling – the men with the scrambled egg knew the truth, but it was just too damn embarrassing.
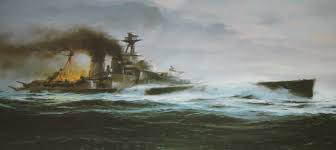
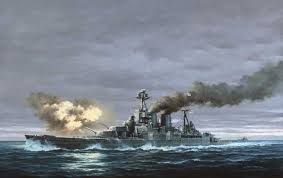
HMS Renown and a Nelson class – Naval art of the author, Paul Comben
4) Bismarck’s Gunnery.
Bismarck’s firing was very good, but on a hits to shells fired ratio, actually not as good as Prince of Wales’.
The shell which might have doomed Hood, or at least, hit an already doomed ship, has been subject to a serious amount of hearsay – it went down a funnel; it plunged right through the deck; it was a one in a million shot, a fluke, or the result of excellent range finding and director skills…take your pick.
Recent studies tend to suggest that, in all likelihood, the shell hit Hood just above the belt armour and just below the deck, roughly in line with the mainmast. Its direction led it into the main after magazines, and the rest is what was seen from the bridge of Prince of Wales, and by the Hood’s three survivors.
Probably, more men made it into the water, just as a fair number of men were seen trying to quit the Queen Mary in 1916, or as one sees in the multitude of poor suffering specks filmed scrambling on the listing hull of the Barham before that appalling explosion. But only three survived Hood – the rest expiring by shock, by drowning in the pull of the plunging wreck, by fire, by exhaustion.
Ted Briggs was just an ordinary chap. Filmed in his last years, he gave every sign of simply being a working class gent out for a beer or a game of darts; but the truth of his days was not far below the surface. He had loved the Hood, was proud to be in its crew, and no one was more deserving, more than sixty years later, of placing a wreath in the sea at the place where she was found.
HMS Hood
5) The “Explosion” Photograph.
This has been reproduced in at least one recent book, and is meant to show, at least according to some, the moment the Hood blew up.
Only it is nothing of the sort.
Yes, it does show a warship shrouded in smoke, and with another column of smoke reaching up above the ship. But it is not the Hood. The reasons why are as follows:
– If you ever see the silent film shot by a crew member on Prinz Eugen, you will see, at one point, Bismarck in the distance with very much the same sort of smoke column issuing from her funnel.
– The bow of a smaller vessel is in the foreground of the “Hood” photograph (from which the picture was taken). Norfolk and Suffolk are the only possible candidates for that bow, and they were miles away.
– The ship being photographed appears too short to be the Hood, and the smoke column is too far forward.
– Hood exploded whilst making a sharp turn to port, but the ship in question is not clearly making any sort of turn.
In all probability this is a shot of a different ship in a different action – just possibly Prince of Wales briefly engaging Bismarck later the same day, with most of the smoke coming from a just fired salvo.
For the most part, these were the conclusions made in Iain Ballantyne’s excellent book, Killing the Bismarck.
Resources:
What Happened to the Hood (Part I) – An Analysis
What Happened to the Hood – The Replays


Dear Paul,
Thanks for the excellent summary and history. These very detailed essays explained much about the loss of the Hood.
Sincerely,
Donald Garlit
Thank you Donald
The loss of the Hood is one of those events which tells more story than simply the tragic loss of the ship and so many lives.
My further reading has revealed that the Hood suffered from a “jackknife” distortion of the hull, caused by the addition, at the initial construction phase, of armour beyond the blueprint’s provision.
Low in the water because of this added tonnage, water got in everywhere there was a vent or hatch; she suffered serious infestation; and among Royal Navy Tars, was known as “the biggest submarine in the fleet.”
Like much else in Britain between the wars, her superficial look belied a host of maladies deeper down.