


Review by Mitchell Freedman:
 Disclaimer – I know Fred and I know Hermann, which probably lets me enjoy some of the quirks of this game more than most people. But, because I am compulsively honest (just ask my friends Fred and Hermann), I would never resort to puffery in my reviews. Besides, they don’t pay me. – Mitch
Deciding to buy a new war game can be a little like buying a car.
You decide what kind you want – a hybrid or an SUV or maybe a light truck (I won’t bother arguing which period of history is most like a minivan) – and then you take a good look at the models on the lot.
Or you look at the cover art on the box and the illustrations on the back cover, and then go on line and read some reviews. Maybe there’s a salesman in the shop who convinces you right there and then that this is, indeed, the very game you want.
Buy a car. Buy a game. What’s the difference?
Sometimes, of course, your research or your instinct doesn’t work the way you expect. You get a lemon. Or, you get a hidden treasure. If you are really lucky, you end up with something that gives you more than you expected, and does it in way that leaves you wondering just how that happened.
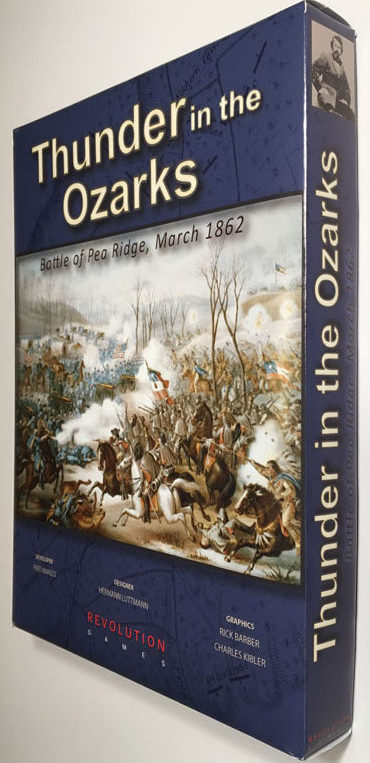
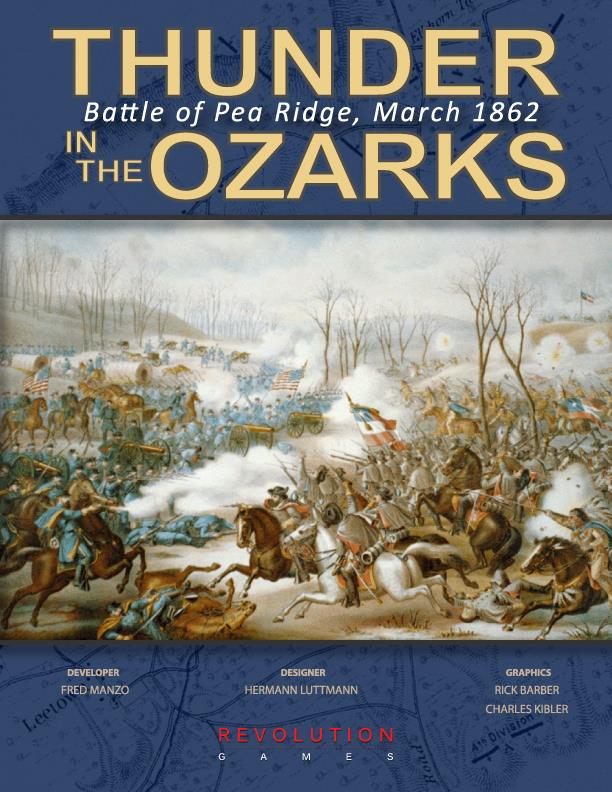
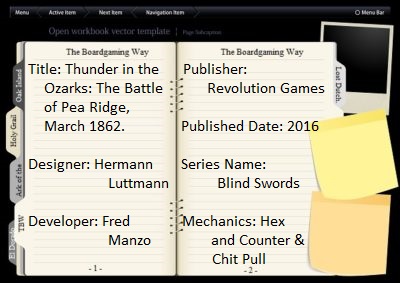
“Thunder in the Ozarks: The Battle of Pea Ridge, March 1862” is the second game in Hermann Luttmann’s “Blind Sword series.” I was its developer and Rick Barber was the artist. The first game in the series was “Stonewall’s Sword: the Battle of Cedar Mountain.” The next game will be “Longstreet Attacks: The Second Day at Gettysburg.” It should be available to the public around September of this year. – Fred
Well, for me, Thunder in the Ozarks is like that. The box passed the test – the map and the counter art are both superior – and the rules are innovative and straightforward at the same time. But straightforward is not necessarily simple.
Example – The combat results cascade down, with units getting exhausted, going through degrees of becoming broken, and facing a complete meltdown and running off the board. Then, they may come back. It explains why there are three colors in some combat results tables.
But, after a while, everything sorts itself out. The map is complex because there is a lot of different terrain and 11 different contour levels, but its pretty easy to figure out blocking terrain and to remember that you can’t set up and fire your artillery on a steep slope.
Most victory points are calculated at the end of the game, by looking at how much damage was done to the enemy, or who holds important terrain. But some terrain gives one side victory points every turn, if they can get it. Good luck with that.
Then there is stacking. It varies, accurately I feel, based on the kind of units you have to put in a hex and how many troops are still left in those shot-up commands.
To put it simply – play this game a couple of times and you begin to wonder – how did the people who made Thunder in the Ozarks get all that stuff into this little box?
Lets break it down a bit.
Marching through the woods and shooting at people isn’t easy or neat, and things don’t always work out the way the commanders plan it. And, except for the simplest war games, you can’t often calculate an attack to get precisely 2-1 or 3-1 odds, or figure out how much of a defensive bonus being in light woods will give your unit.
Thunder makes those things smooth and easy. But, not simple. There are more than a dozen fire combat modifiers, and another 15 close combat shifts. Just look them up on the multi-colored chart. Its a cinch.
Different weapons have different ranges, and the ground here isn’t flat and open – it makes the few open fields a major factor in maneuver and combat – and getting the best troops into the best fighting position (remember the stacking limits) can be a challenge.
Thunder puts all those things together smoothly enough. Just take it a step at a time, and you will soon feel a lot more like a Civil War general than an accountant with an adding machine pushing your 4-3-6 units into a stack.
Now, here’s the best part. At least for me.
Luck.
In lots of war games, uncertainty is all in the dice. Roll a 1 on a D-6 or an 11 on a D-12 and your fate has been determined. Simple, but not really satisfying.
 I think the best thing that Thunder does is really mix it up, by giving each player several different kinds of chits which either activate some units or trigger specific events, brigade activation, or things like a random “Fog of War” movement. Each player picks one chit they particularly want to use and drops it in a cup (or a hat), and then puts the rest of their chits face down on the table. Mix them up and take some (the rules tell you how many) and put them in the hat too. Then pick one for your turn.
That gives you the feel for this game’s random action determination. But it doesn’t let you appreciate the sheer joy you get when your position is threatened and your opponent pulls the Fortunes of War chit, which means the very next chit they pull from the hat has to be discarded. Or the horror when your opponent draws the Fog of War chit and puts it on your unit, which can no longer move, withdraw or advance for the rest of the turn.
I have to admit this appeals to my chaotic side, but there is a good argument to be made that this gaming system shows the uncertainties of battle far better than just rolling a six-sided die.
Oh, yes, you actually roll two six-sided dice. But your don’t read the result as 2 to 12, but 11 to 66. See. Its simple, but not easy.
On the drawback side, at least for me, is that it can take a while to play. The designers swear they can get a game in in just a couple of hours, but they have played it a lot more than I have. I am happy to get one of their three scenarios done in one sitting, and I have not yet tackled the 26 turn campaign scenario at all.
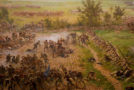
To be fair, the full battle did last for two days. It was one of the few where the Confederates outnumbered the Union troops, but their strength and bravery was more than defeated by poor leadership and a commander (Major-General Earl Van Dorn) who refused to admit that he lost. Being told to leave behind most of their supplies and ammunition and having to undertake a two day forced march in freezing weather didn’t help the Confederates either.
The Union army reported just over 200 killed and 1,200 wounded or missing, while the Confederates claimed 800 killed or wounded and 200 to 300 taken prisoner. Those casualty figures included several key officers, and the numbers were later reviewed and are now thought to be around 2,000.
None of this will help you play the game, but it does put that elusive campaign scenario in perspective.
Game Resources:
 Thunder in the Ozarks (Revolution Home Page)
Thunder in the Ozarks BGG Page
Stonewall’s Sword BGG Page
================ Players Aid ================
Thunder In the Ozarks Line-Of Sight Chart 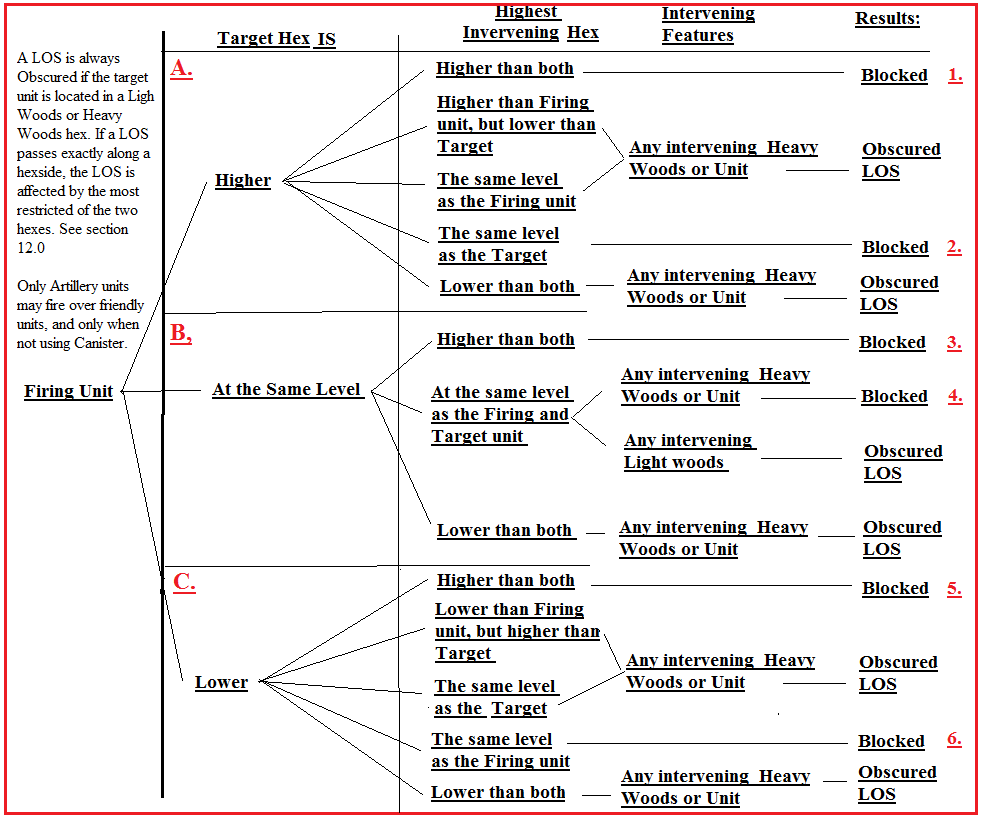
[Now, once you check over this chart I’m sure your eyes will start glazing over. But working out its steps in a logical manner does reveal a few interesting patterns.

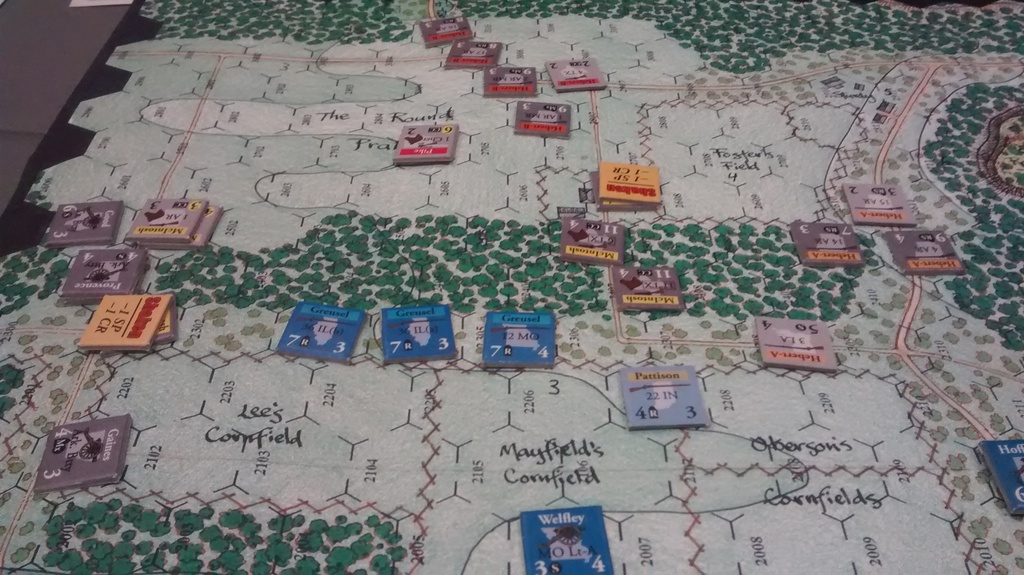
This is the “Elkhorn Tavern” map, once again during our last playtest, but this time it includes the far right Union flank, which has been turned by the Confederates.
Because by simply looking down its extreme right hand “conclusions” column you will notice that there are only 12 entries, with 6 of them simply saying “the Line-of-Sight is Blocked,” and the other 6 saying “the LOS is Obscured.” Of course, we could attempt to memorize the 6 “Obscured” situations, but we would then have to take into account the next to last right-hand column and that would involve remembering more data, not less. So let’s stick with the “Blocked” situations and see where they lead.
First, you’ll notice that of the 6 “Blocked” conclusions three are obvious: you can’t see through mountains. So conclusions #1, #3 and #5 should be no problem remembering. That leaves us with only conclusions #2, #4 and #6 to review.
Well, conclusion #2 and #6 are basically the same, in that you can’t see beyond a cliff, unless either you or your target are standing at its edge.
That leaves only conclusion #4 to consider: “If the Firing unit and its target are on the same level you can’t see through Heavy Woods or Units.”
So basically, all 12 Line-of-Sight situations and all their sub-topics boil down to a few simple rules:
I hope this helps – Fred]