


By Fred Manzo:
Part I: (Mechanics)
The blue “Wheatfield” card pays off when a “1” is rolled. One would tend to think that it, therefore, only pays off when a “1” is rolled on one dice. But if one looks closely, there is a grain symbol in its upper left corner. This is significant when other cards pay off based on how many grain cards their mayor controls. In addition, when a forced trade becomes possible due to other card’s abilities, a wheatfield is usually chosen as the card to be given away. After all, it only costs $1 and if you are rolling two dice it never pays off directly anyway. The usual trade is one Wheatfield for one mine, as the Mine costs $6.
I hope everyone realizes by now that I prefer wargames to Euros, but there are exceptions and “Machi Koro” is a big one. As you might guess, “Machi Koro” is a Japanese game, which involves each player building a city named, of course, “Machi Koro.” You are its hard-pressed mayor, whose job is to grow your city into a thriving metropolis. Unfortunately, all you have to start with is a single wheat field and a bakery, but Rome wasn’t build in a day. At Machi Koro‘s speed, in fact, it was built in about an hour, depending on the number of players and expansions you use.
When I first came across “Machi Koro,” it was through a couple of hard-core grognards, so I knew it was special. And when I checked Tom Vassel’s review on the Dice Tower channel, I had to agree with his assessment. “Machi Koro” reminded us of a more elegant version of “Settlers of Catan,” in that it has no tiles or roads, gold, iron, bricks, sheep, coal, wood, grain, boats or gravel. It does have cards, which represent each building or enterprise a town could have, and money. But really, what else do you need?
In “Machi Koro,” the first person to complete the 4 landmarks any important city needs, wins. However, in the expansions, exactly what makes a successful city tends to get more complicated, in that you have to build 6 landmarks to win: things like an airport, shopping mall or a harbor etc.
“One Guy Rolls, Everyone Collects”

These are the backs of the two deck types. To tell you the truth their artistic style reminds me of “It’s a Small World” from Disney. Picture from Wiki. Yellowback cards are the starting cards and the light blue backs are the rest of the establishments that may be built during the game.
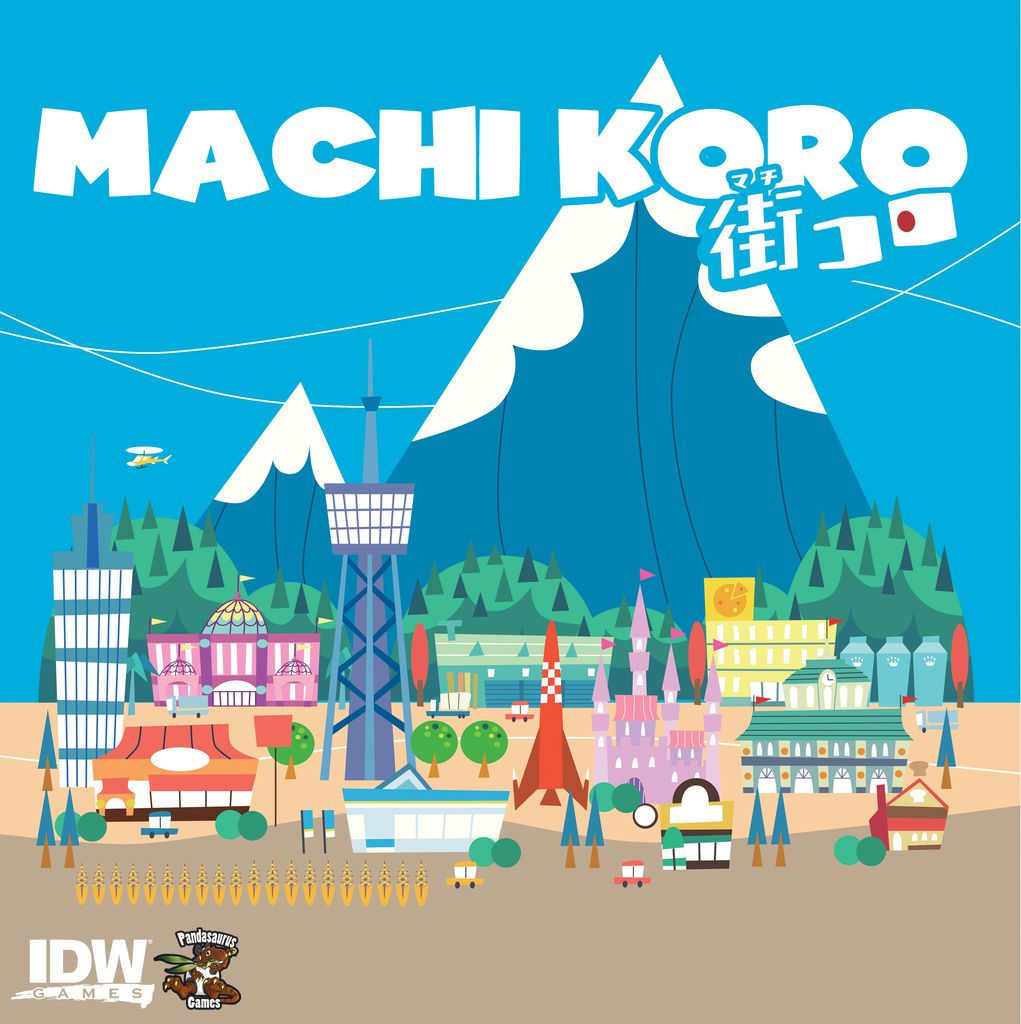
Of course, in either version the game comes with two 6-sided dice and players start with the two cards, which may pay off on a roll of 1, 2 or 3 and $3.00 in the city treasury. A mayor then rolls one die, all the players then check to see if any of their cards generate money, everyone then collects their money and the player who rolled the dice may build a new establishment from those available with the money in his treasury. And that’s it as far as mechanics go.
As the game progresses, however, other possibilities appear. Things like rolling two dice and combining their totals or re-rolling both dice or adding 2 to your dice total, or building everything from a Pizza Joint to a Fishing Fleet, depending on what your expansion set throws out. Of course, how you become a world-class city depends on your luck and your playing skill. Do you go for the greater abilities a new, powerful landmark provides or go for cards that generate a greater income immediately? Do you spend time doubling or tripling establishments you already own or try to get to that all-important final landmark by saving your money from turn to turn? What makes these decisions difficult are that the odds of a card hitting during a turn changes due to the number of players in the game, the number of dice rolled and the type of cards in play. For example, in a two-player game, a card with a green background only hitting on one number will pay off once every 6 rolls of the dice when a player is rolling one die. And it has to be the dice YOU roll. A red card, on the other hand, may payoff whenever any of the OTHER players roll its number. So in a 4-player game with everyone rolling one die, it has a good chance to pay-off every other turn around the table.
Now, no game is perfect and the basic “Machi Koro” game does have its problems. First, in the basic game, every card type is always available so there is less tension and a limited replayability. This problem, however, is addressed in the expansions by not allowing every card to be chosen every turn.
Second, as a typical Euro, it might come across as “multi-player solitaire,” which is another way of saying that there is little you can do once you fall behind the leader. However, with the inclusion of a number of expansion sets, such as the “Harbor” and “Millionaire’s Row,” these problems also diminish. Due to the fact that the expansions also increase the number of establishments that can be combined in order to increase a payoff. This is especially important in the end game when you are racing to finish a high-cost landmark.
Unfortunately, these expansions, while greatly increasing the re-playability of the game, do tend to turn a fast-paced game into one that might be a bit too long for a typical Euro player. Of course, for grognards, either version would be considered a short game.
Part II: (Spoilers)
As I believe a “bad plan is better than no plan at all” I’ll be glad to set out how I play after experiencing 4 or 5 games. This won’t make you a “Machi Koro” grandmaster, but I hope it will start you off in the right direction.

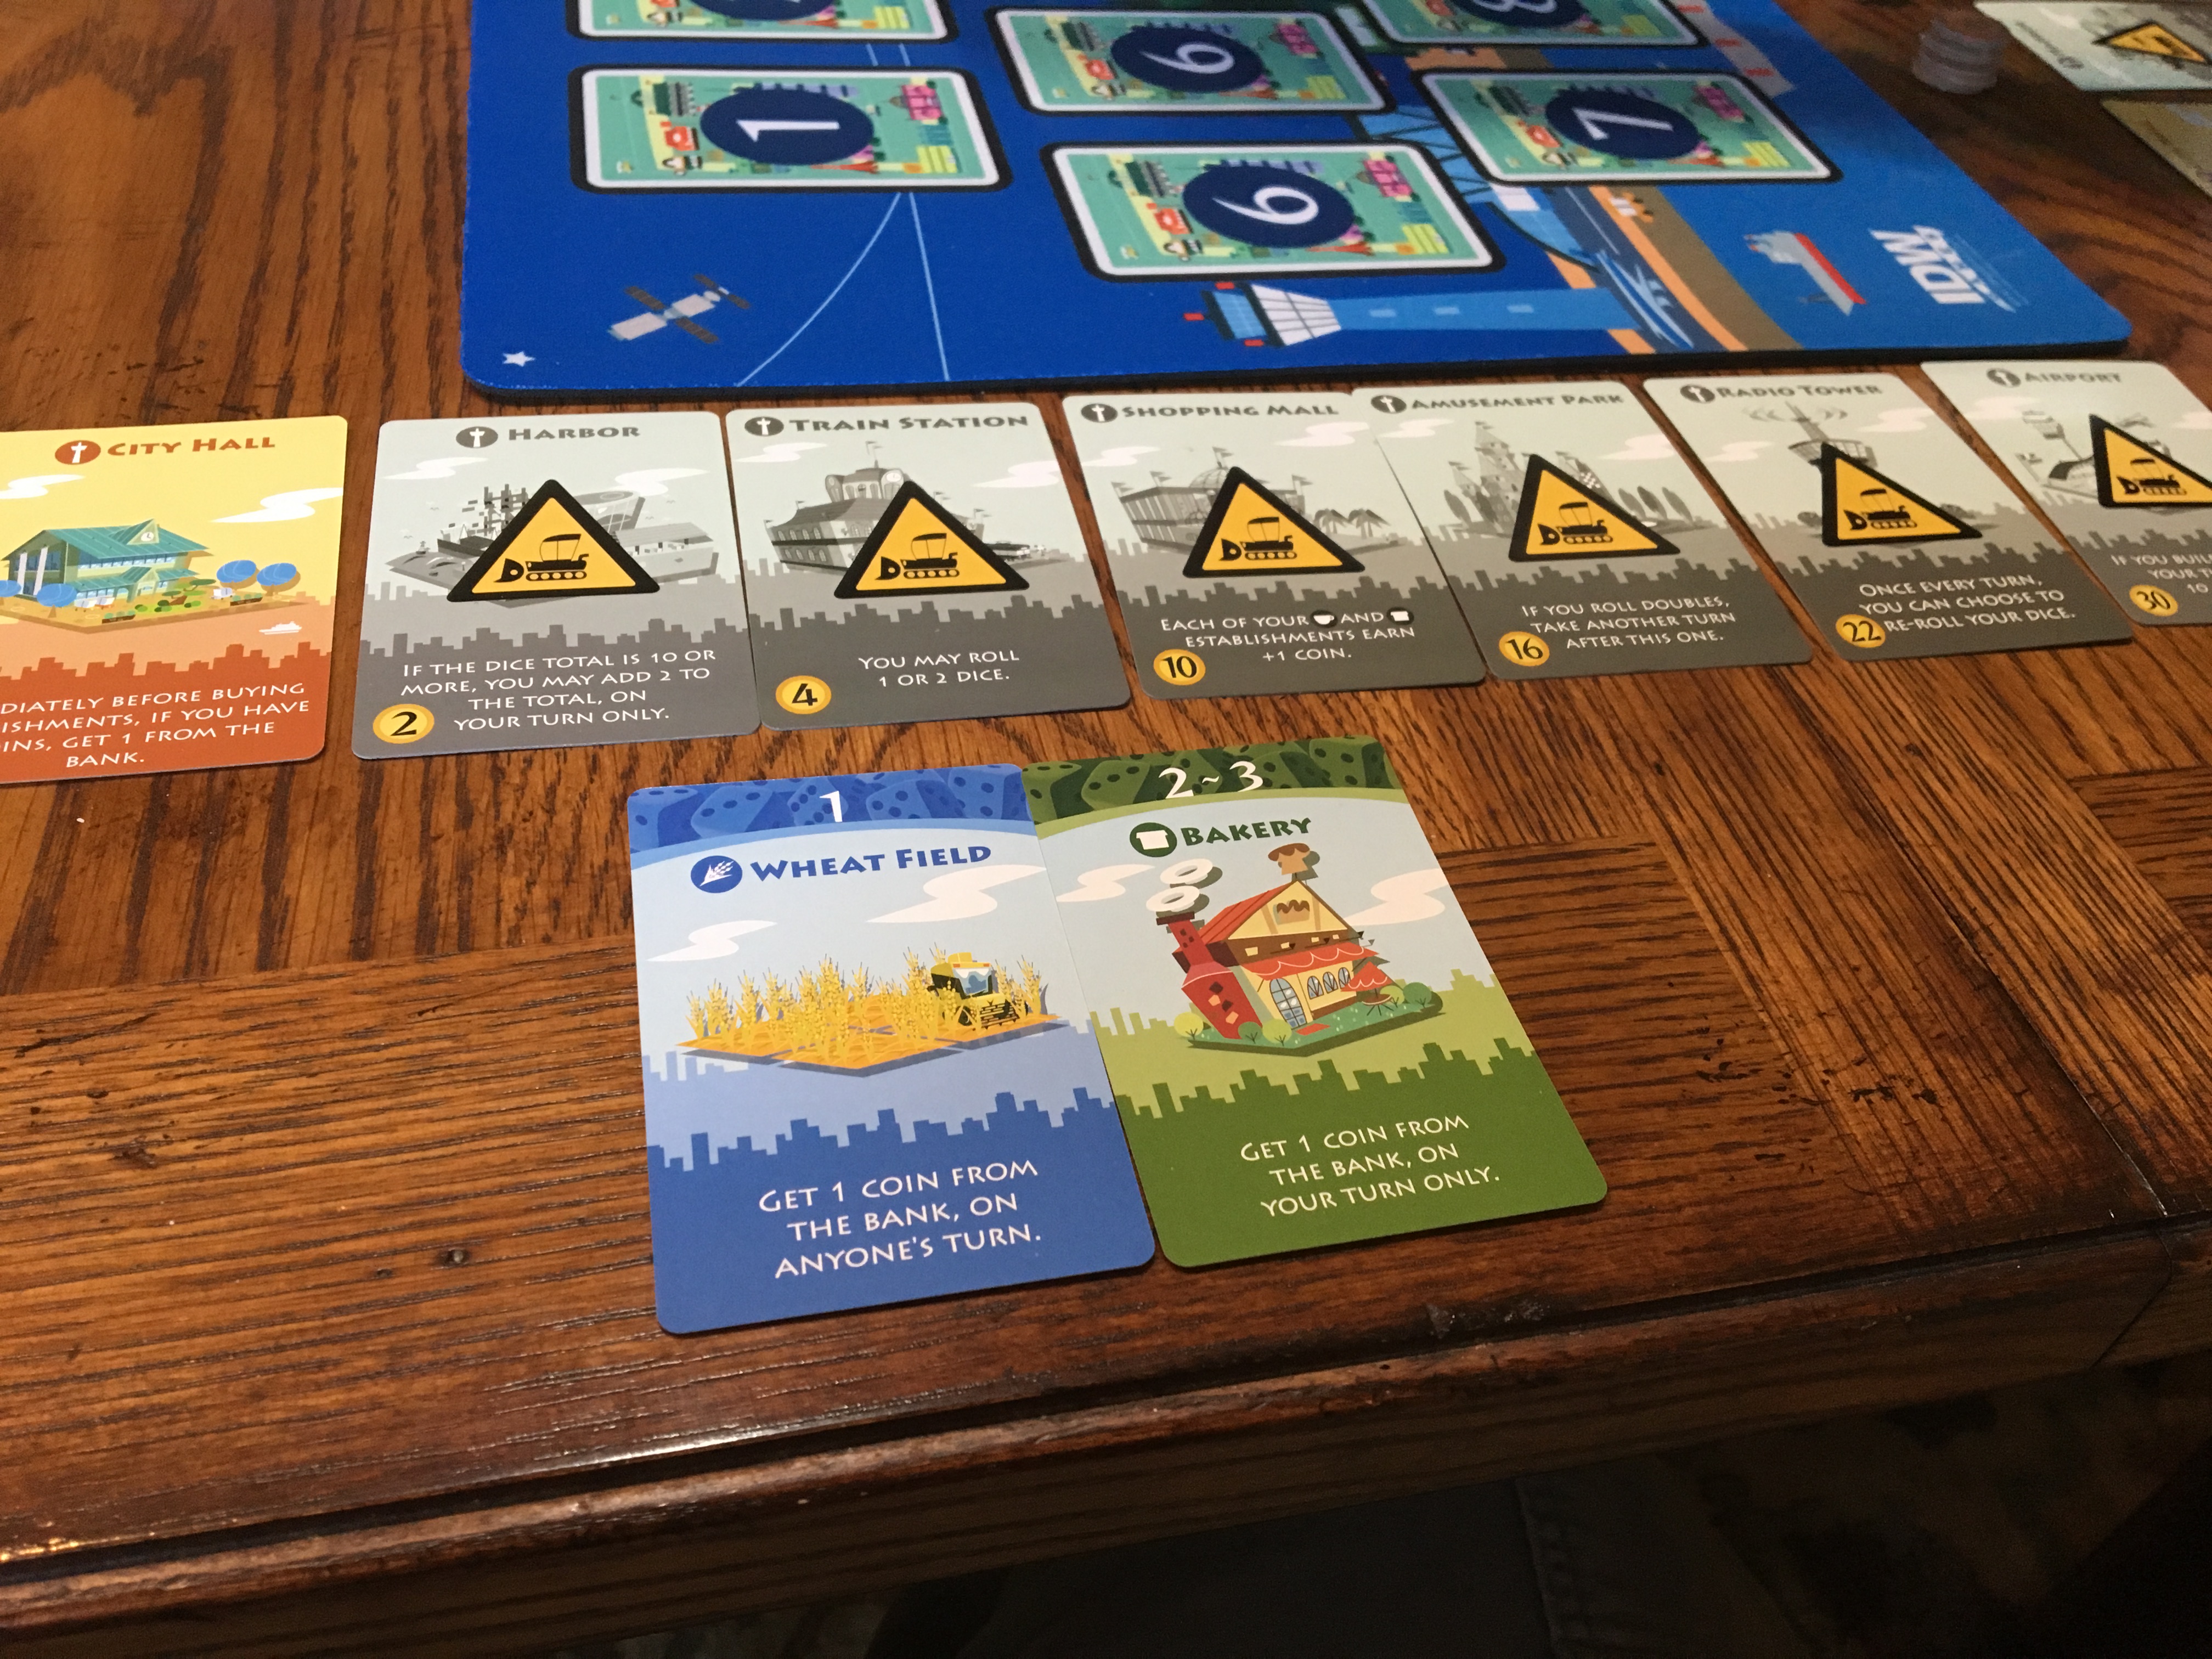
A Machi Koro mid-game position with expansions. The cards in the top row are landmarks. Their cost is in the lower left. Their gray side with a triangle signifies they have not yet been built. Their full-color side signifies they are built and their powers are available to the owning player. Players start an expansion with the cheapest landmark already built and must build 6, all of greater cost.
Basically, beginners agonize over two main strategies, the “one-die” strategy and the “two dice” strategy. That is, you can play the entire game only rolling one die. This, obviously, will limit you to generating numbers from 1 through 6, but it will increase the productivity these low-number cards. Using this strategy you can even buy cards that pay off on numbers from 7 through 12 (or through 14 depending on the expansion set you are using). This phenomenon is due to the cards being color-coded and paying off in different ways. For example, cards with a blue background payoff whenever that number is rolled. So, although YOU won’t be rolling a “9” with one die, all your opponents (who roll 2 dice) will be. Therefore, in a 4-player game, the high-numbered blue cards you control will still pay off to you 3 out of the 4 times their number appears. Furthermore, red cards make the player who rolled the dice pay you (things like having a Cafe or a Pizza Joint in your town, which represents other players stopping by to get a bit to eat as they go about building their own city.) So, they will also pay off whoever rolls their high-number. Therefore, in a one-die strategy, a player can still buy cards that never pay off when he rolls one die, just as long as the player remembers not to buy green cards that pay off over 6 only when YOU roll the dice. And as long as the other players co-operate by not buying cards that disrupt this strategy, it might even work. But it basically comes down to a race between your high producing, cheap to own, low-numbered cards, that consistently pay off 1 out of 6 times, and your opponent’s ability to cascade all the cards they own, though their high-number cards are more expensive to buy on average and pay off more infrequently than yours. Unfortunately, cards over “6” allow for some high-capacity returns and some mighty powerful combinations. So while it might be a close run thing in a short basic game, I believe a “one-die” strategy will fail most of the time and probably in all games using an expansion set.
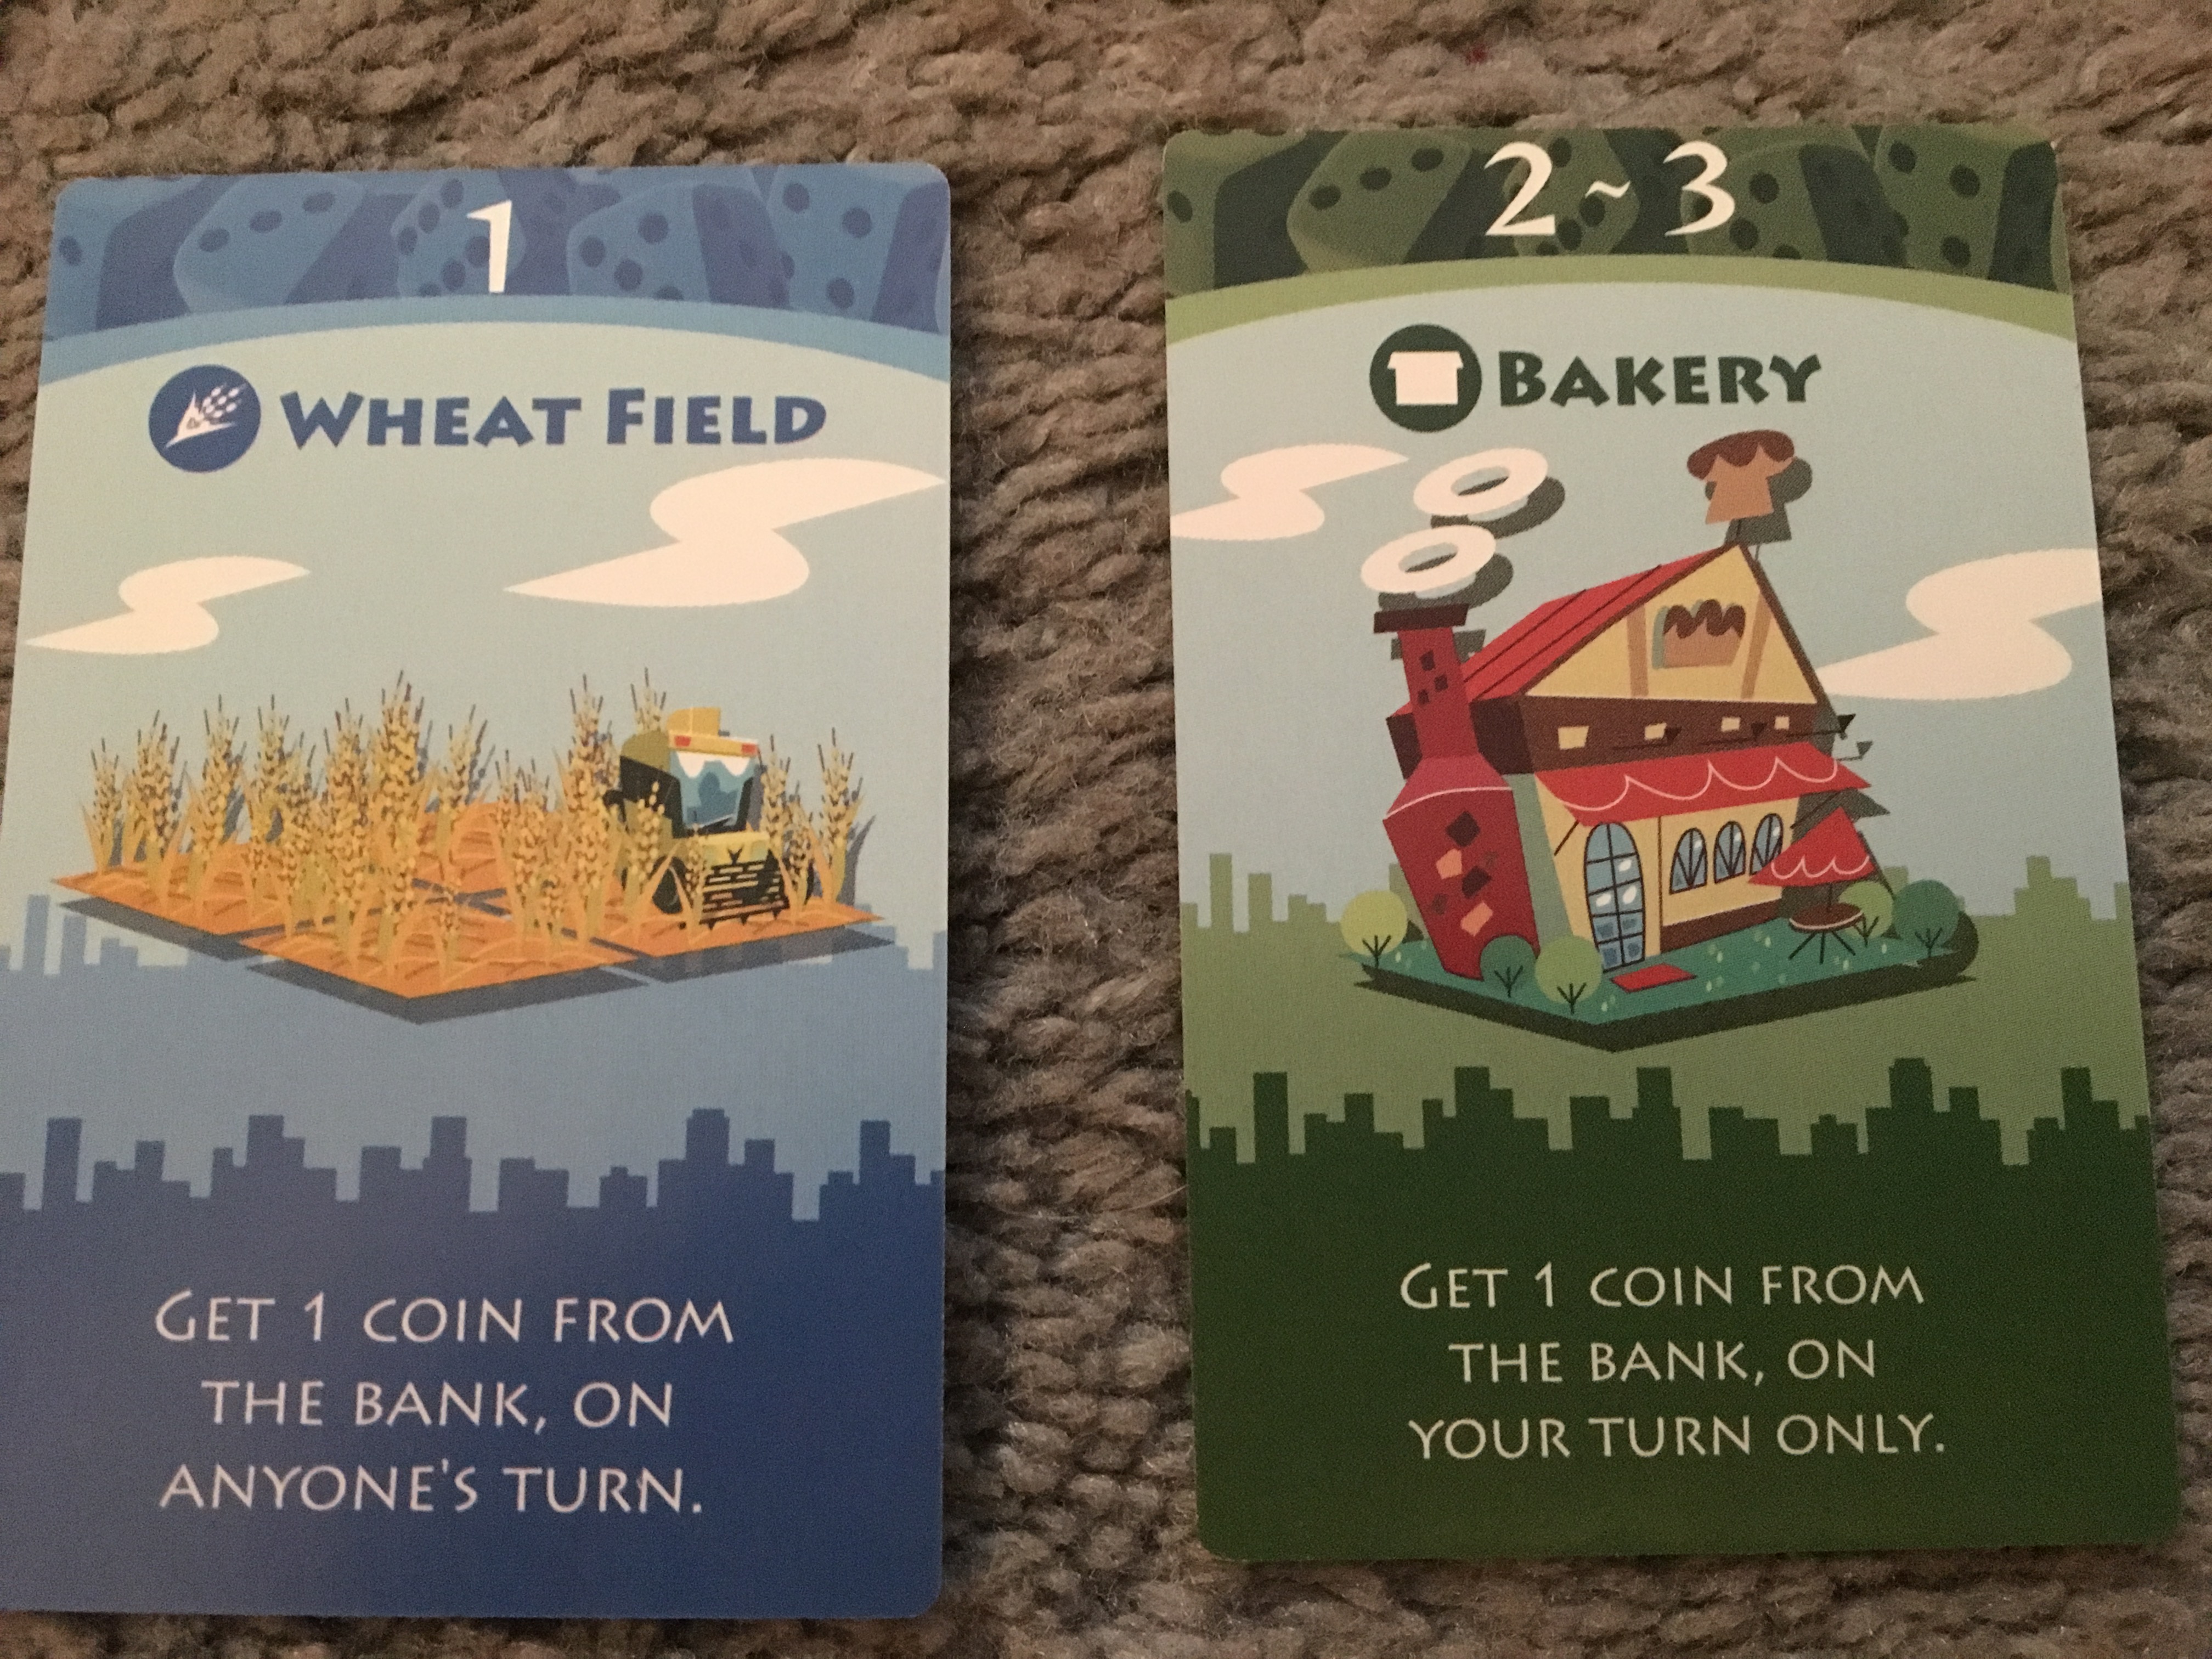
The number a card pays off on is on their top. Their cost is on their lower left and exactly when they pay off and how much each card produces in the text in their center. Their type is shown via a small symbol in their top left. (This may increase the pay off of some other cards.) There are blue, green, red and purple cards to buy. The blue background cards pay off whenever that number is rolled by any player, the green cards pay off only when their owner rolls the die. The red cards force the player who rolled the dice to pay you and the purple dice are limited to one type per player. That is, no doubling or tripling up as is common with all other establishments.
This is further due to the fact that there are cards in the expansion decks that specifically work against such a scheme. Things like the “Tax Office,” the “Publisher,” or the “Sushi shop.” Of course, simply having to build 6 landmarks in the expansion sets as against the 4 in the basic game also makes the game run longer and thus also gives players rolling two dice that much more time to overtake anyone still rolling one.
The other strategy uses 2-dice as soon as practicable. It starts out the same as the first strategy but after building, say, 6 or so new low-numbered establishments, the player also builds cards that hit on numbers over 6 and the landmark that allows two dice to be rolled at once (and their totals combined). This permits you to use the full capabilities of ALL the cards numbered from 7 through 12 (or even to 14) and as 2 dice will sometimes produce a total less than 7, all your cards will still be of value. Except, of course, for the lowly “Wheatfield,” which produces only when a “1” is rolled. But even this card has it uses in the 2-dice strategy as you can build a “Business Center” that allows you to force a favorable trade. Say you trade one of your non-producing Wheatfields for a producing Mine? The Mine pays off whenever a 9 is rolled by any player and they ordinarily cost $6 each. A Wheatfield costs only 1 dollar, so you just gained a business worth $5 more than the one you sold. (Plus, of course, you’ve also created an enemy who will bend every effort to forcing the exact same trade in the opposite direction on you, as soon as possible.)
Although, even Wheatfields can sometimes produce in the two-dice strategy as there are cards whose pay off is judged by how many other cards, such as fields of grain, a player controls. Cards like the “Fruit and Vegetable Market,” for example. So players who control some high numbered cards may load up on wheatfields in order to increase the production of their main businesses, in addition to having non-producing cards ready to trade for producing high-value Mines etc. But to be fair, the more time you waste gathering non-producing cards the further you will fall behind the other players. This is a race, after all.
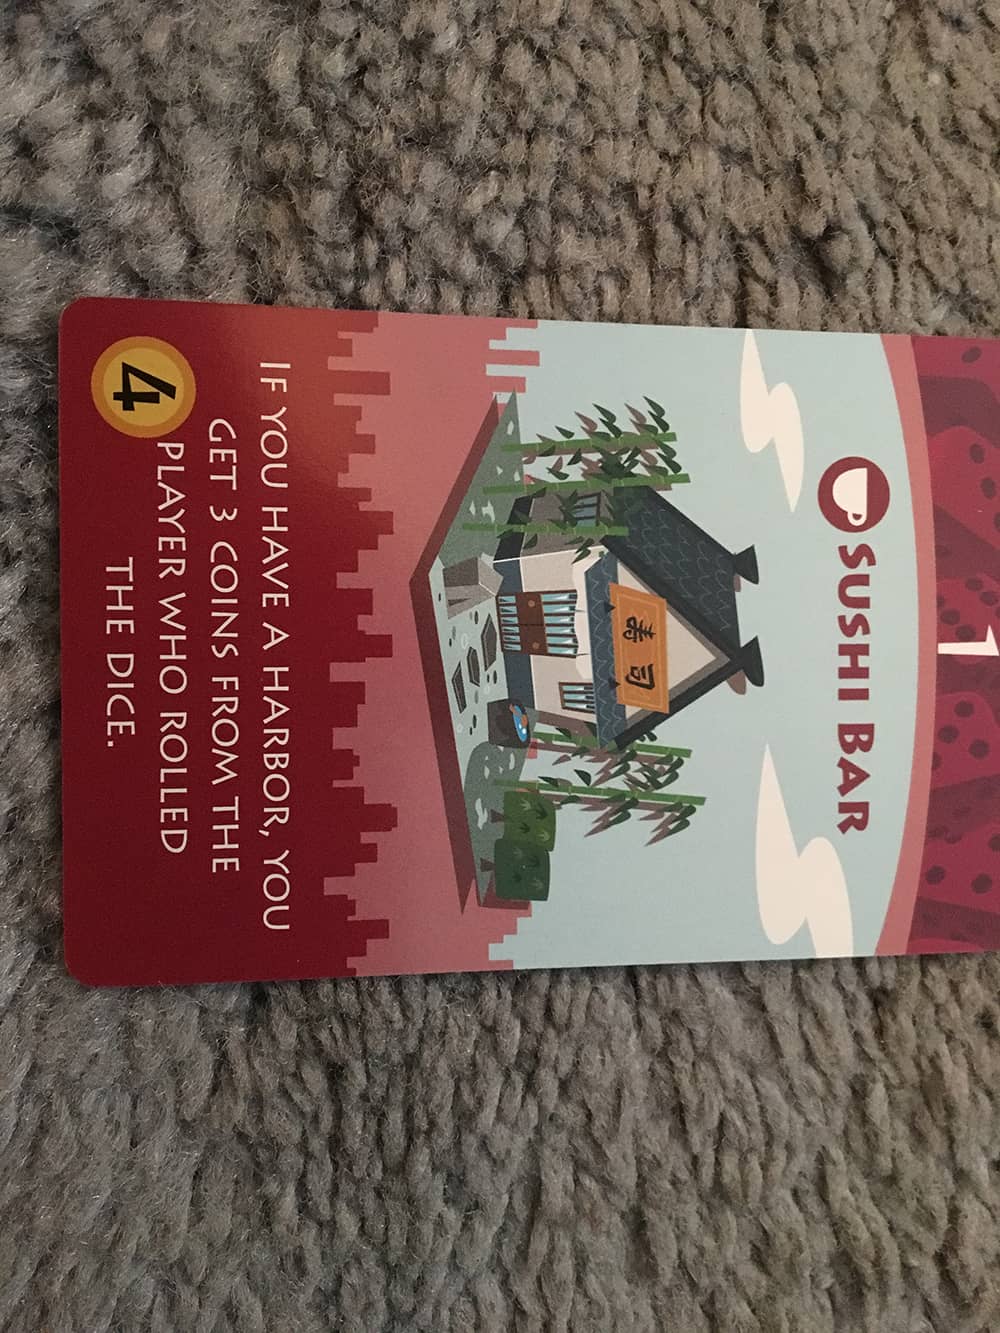
The “Sushi Bar” comes with an expansion set and seems to force players to abandon the one die strategy. In other words, if your opponent insists on rolling one die, you may counter by buying 2 or 3 Sushi Bars and drive his treasury down to zero.
The starting position in Machi Koro, with the harbor expansion and the optional playing mat in the background.
So, basically, the 2-dice strategy is the way to go. But exactly when to switch over is something of a problem. It all depends on what your opponents do, and what cards are available (when playing with the version of the game that limits the cards you are able to select). Too early a switchover and you will be rolling high numbers that don’t generate any money for your city because you don’t yet have all the cards needed to cover the full 7 through 14 range, but too late a switchover and you won’t recover the high initial cost of obtaining the powerful 7+ cards in the limited time remaining in the game.
I’d, therefore, suggest when playing with the expansions to begin the changeover to a two-dice strategy around the seventh card. That is, buy only cards numbered from 1 through 6 for your first 6 turns, then buy the 7 + cards from the 7th through the 10th turn, focusing on blue background cards (and red background cards in games having three or four players), then buy the landmark that allows you to roll two dice in the 12th turn or so, then roll 2 dice to the end of the game, which should be around the 24th turn depending on how many landmarks you have to build in order to win. And finally, if you find yourself falling beyond other players start looking to buy cards that disrupt their plans, (cards with red and purple backgrounds). That is establishments such as the “French Resturant,” the “Tax Office” and especially the “Business Center,” which allows you to trade off your non-productive cards for an opponent’s high-value cards.
I hope these ideas help you get started playing a charming game.
Game Resources:
 Machi Koro BGG page:
A “Machi Koro” homepage:
Machi Koro rules in English: